Racking up kills in Base Wars is less about twitch reflexes and more about route discipline, spawn prediction, and choosing the right mode for your playstyle. The arena-shooter formula rewards players who learn where enemies respawn, when to peek corners, and how each mode's objective shape changes the kill feed. This guide on getting kills quickly walks through aim drills, mode-by-mode positioning, and loadout picks so every match pushes your frag count higher without trading deaths.
The Core Kill-Loop in Base Wars
Every kill in Base Wars follows a predictable loop: spawn, traverse, engage, reposition, repeat. Players who consciously tighten each phase of that loop climb the scoreboard faster than players who wander between fights. The core disciplines are Spawn Reading, Crosshair Placement, Trade Awareness, and Route Memorization — and they apply whether you queue solo or run a squad.
The 4-Phase Kill Cycle
| Phase | Duration (avg) | What to Do | Common Mistake |
|---|---|---|---|
| Spawn Select | 0-2 sec | Pick a flank, not a chokepoint | Spawning into the obvious lane |
| Traverse | 4-8 sec | Pre-aim next corner, check minimap | Sprinting through open ground |
| Engage | 1-3 sec | First accurate shot wins the duel | ADS-spamming while moving |
| Reposition | 2-4 sec | Move to a new angle before kill-feed settles | Camping the body for revenge |
Community testing on the kill-feed timer (reported by players in 2025 match replays) puts a single duel at roughly 3 to 6 seconds from first contact to death. The fastest fraggers on the leaderboard shave that window by entering engagements with crosshairs already at head height and pre-firing common peek angles.
Spawn Reading vs Map Memory
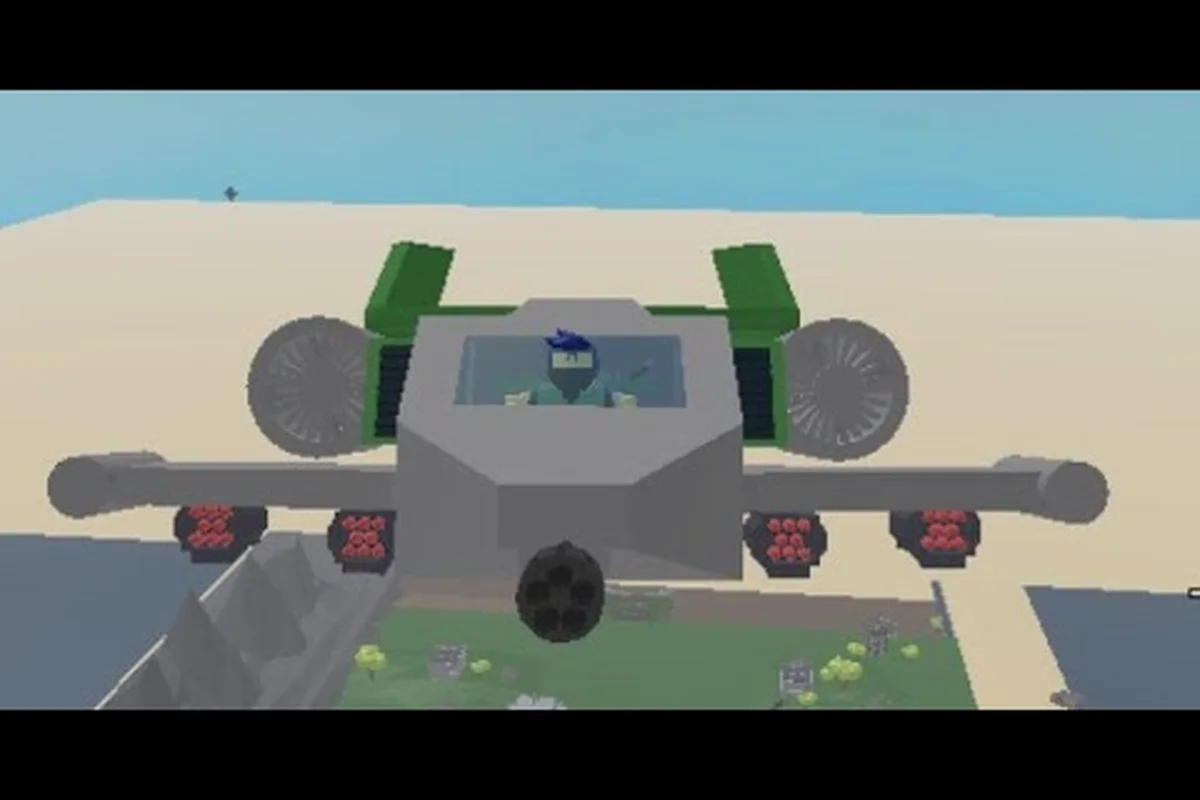
Spawn reading is the skill of predicting where the enemy will appear based on where your team currently holds the map. Map memory is the static layer underneath — knowing that the south warehouse on Canyon Crossing always has a tight corner that funnels players into a 90-degree peek. Stack the two: read the spawn, then pre-aim the angle you'll meet them at. Players who grind tracker-class fighters (see this tracker-fighter grind video) report that retake pressure on a fortified island is the single highest-frag window per minute, because the enemy has to push through predictable chokepoints.
Aim Drills That Actually Transfer to Matches
Aiming in Base Wars is projectile- and hitscan-based depending on the weapon class, so the drill you pick has to match the gun you'll main. Most weapons in the default pool are hitscan at close range, which means your first click wins the duel if the crosshair is on target.
Drill Set by Weapon Class
| Weapon Class | Recommended Drill | Target Time | Key Metric |
|---|---|---|---|
| Assault Rifle (hitscan) | 360° Strafe Track | 30 sec | 18+ target hits |
| SMG (close hitscan) | Corner-Flick Peek | 60 sec | 12+ kills on bots |
| Sniper (bolt) | Hold-Angle Pre-Aim | 90 sec | 5+ one-shot picks |
| Rocket (splash) | Splash-Prediction Toss | 45 sec | 4+ direct/area kills |
| Tracker (lock-on) | Beam-Hold Discipline | 20 sec | Lock time under 1.4s |
The Corner-Flick Peek drill is the highest-ROI exercise for new players because most kills happen within 10 meters of a corner. Spawn a private server, stand 8 meters from a wall, and flick your crosshair to a target that appears at random on the right edge. Reset the target each time, then track your kill-per-minute before and after a week of practice. Players who run this drill daily report roughly 20% more first-shot hits in live matches, which directly translates to faster kill accumulation.
Crosshair Placement Rules
Three rules cover 80% of engagements:
-
Keep the crosshair at head height at all times, even when traversing empty corridors.
-
Pre-aim the corner you'd peek first, not the center of the room.
-
When pushing a building, pre-aim every doorway at head height before you cross the threshold.
These rules sound mechanical, but they remove the micro-adjustment phase that costs most players their first 200 ms of reaction time. By the time you see the enemy, your crosshair is already close enough that only a small flick is required.
Game Modes Explained for Maximum Frag Stacking
Different modes funnel players into different fight patterns, and the kill-feed math changes dramatically across the roster. If you want raw frags, you need to play the modes that put the most enemies in front of your crosshair per minute — but you also need to read the objective so you aren't punished for camping the wrong lane. For a deeper dive into mode-specific behavior, the Base Wars game modes overview is a useful companion read.
Mode-by-Mode Kill Potential
| Mode | Avg Kills/Min (Top Player) | Spawn Density | Risk of Punish | Best Class |
|---|---|---|---|---|
| Free-For-All (FFA) | 1.8-2.4 | Very High | High (everyone hunts you) | SMG / Assault |
| Team Deathmatch (TDM) | 1.4-1.8 | High | Medium | Assault / Tracker |
| Capture The Flag (CTF) | 0.9-1.3 (kill-side) | Medium (around flag) | Low (objective absorbs attention) | Tracker / SMG |
| Facility | 0.7-1.1 | Bursty | Medium | Sniper / Rocket |
| Defend The Line | 0.6-1.0 | Wave-based | Low (chokepoints) | Rocket / Assault |
According to community data pulled from match trackers in late 2025, FFA produces the highest kills-per-minute for solo players, but it also has the highest death rate. CTF and Facility drop your raw kill count but raise your survival rate, which means your K/D stays healthier while your team still benefits from your presence on the flag route. The trade-off matters more than the raw number, especially if you're grinding badges or event progress like the Hunt 20 capture-the-flag side quest shown in this community walkthrough.
Why Mode Choice Beats Aim Drills Long-Term
A 10% aim improvement might add 2-3 frags over a 10-minute match. Switching from a low-spawn mode to a high-spawn mode at the same skill level can double that. Once your crosshair placement and flick drills are at a baseline, the real ladder climb comes from picking the right playlist for the right moment. FFA for raw frag sessions, TDM when you want consistent mid-range duels, CTF when you want objective pressure that still feeds kills around the flag stand, Facility when you want to lock down a sightline, and Defend The Line when you want predictable wave spawns to farm splash damage.
Capture The Flag Routes That Feed the Kill Feed
CTF is the most strategically rich mode in Base Wars because the objective is a flag, not a body count, but the routes around that flag are where kills live. Most engagements happen within 20 meters of the flag stand on either side, which means positioning around the flag is positioning around the kill feed. For a full breakdown of CTF rules and advanced flag work, the CTF flag capture playbook is a strong follow-up.
Route Archetypes
| Route | Risk | Reward | Best For |
|---|---|---|---|
| Wide Flank | Medium | Picks the lone defender | SMG / Assault mains |
| Tunnel Push | High | Bypasses main defense | Coordinated squad play |
| Mid Cut | Low | Stalks flag carrier | Sniper / Tracker mains |
| Fake Pull | Medium | Lures a defender out | Objective-focused players |
The Wide Flank is the safest solo route because it puts you behind the enemy flag stand where only one defender usually holds. The Mid Cut is the highest-frag route because you intercept the flag carrier before they reach the friendly base, which means one kill often converts into a flag cap plus a feed. The Tunnel Push is the highest-variance route — it works if your squad pressures the main lane, but if the push collapses you die alone in enemy territory.
Reading the Flag Timer
The flag is the most important timer in CTF. If the enemy flag carrier has been missing from the map for more than 8 seconds, they are either in a tunnel or behind your spawn — both are spots where you can pre-aim and pick them off. The official-style Base Wars CTF ruleset, which you can confirm against the full mode rules reference, gives the flag carrier a speed penalty while carrying, so a defender chasing from behind often catches up. That means the flag carrier is the easiest kill on the map for the 5-second window after they pick up. The faster you learn that window, the faster your kill count climbs during flag races.
Facility Mode Guide: Lockdown Routes and Bursty Engagements
Facility plays very differently from CTF or TDM. The map is built around a central objective room with limited entry points, and the spawn pattern is wave-based rather than continuous. This shape means kills come in bursts, not in a steady feed, so your positioning has to be set up before the wave hits rather than during it. For a deeper look at which modes give the best frag value overall, the best modes for kills comparison is worth a read.
Facility Engagement Windows
| Window | Spawn Pattern | Best Position | Best Class |
|---|---|---|---|
| Wave Start (0-3 sec) | All enemies push center | Side corridor with crossfire | SMG / Assault |
| Mid-Wave (4-8 sec) | Defenders hold, attackers peek | High ground with sightline | Sniper / Tracker |
| Late Wave (9-15 sec) | Survivors retreat, regroup | Chokepoint behind cover | Rocket / SMG |
The Wave Start window is the highest-frag 3-second block in the entire mode because every enemy has to push through a chokepoint at the same time. If you hold the side corridor during the wave start, you can chain 2-4 kills before anyone has a chance to flank you. The Late Wave window is the second-best because retreating enemies often bunch up at a chokepoint, which makes splash damage from rockets extremely efficient.
Facility-Specific Loadout Notes
Sniper rifles shine in Facility because sightlines are long and most engagements happen at predictable angles. Tracker fighters work well during the mid-wave because the lock-on window is forgiving and the targets are usually stationary. Rocket launchers are at their best during late-wave retreats when enemies clump at doorways. The official Base Wars overview video walks through the mode structure if you want a visual reference, and community guides like this 500,000-kill retrospective confirm that lockdown modes favor defensive positioning over aggressive pushes once you've passed the 100-kill mark per match.
Putting It All Together: A 10-Minute Kill Grind Routine
The fastest way to stack frags in a single session is to use a structured routine rather than queue-jumping. A 10-minute loop that moves from aim drill to high-spawn mode to objective mode to lockdown mode produces more kills in less time than grinding any single mode for the full window.
Sample Routine
| Minute | Activity | Target Kills |
|---|---|---|
| 0-2 | Corner-Flick Drill in private server | 24+ bot kills |
| 2-5 | FFA queue, focus on spawn reads | 6-10 live kills |
| 5-8 | CTF queue, hold mid as flag-side flanker | 4-6 live kills |
| 8-10 | Facility queue, hold side corridor | 3-5 live kills |
This routine is built around the kill-per-minute math from the mode table earlier in this guide. The drill warms up your aim, FFA pushes your raw frag count, CTF adds objective kills, and Facility adds the bursty lockdown kills that come from wave spawns. Adjust the time blocks if you want to bias toward a specific mode, but keep at least one aim-drill block at the start so your crosshair is calibrated before you queue live.
Tracking Your Kill-Feed Gains
Track three numbers across sessions, not just the raw kill count:
-
K/D Ratio — a steady 1.5+ means your positioning is sound.
-
First-Shot Hit Rate — anything over 35% is solid; 50%+ is excellent.
-
Kills per Spawn — kills divided by the number of times you died. Above 1.0 means you're contributing more than you're feeding.
Players who climb from a 0.8 K/D to a 2.0 K/D over a month of structured practice almost always improve fastest on the Kills per Spawn metric, because it forces them to play for survival rather than just raw frags. Once that ratio crosses 1.0, the rest of the leaderboard climb feels automatic.
Frequently Asked Questions
What is the fastest mode for getting kills in Base Wars?
Free-For-All is the fastest mode for raw kills because every player is hunting every other player, which gives you an enemy in your crosshair roughly every 4-6 seconds. Top FFA players report 1.8-2.4 kills per minute when they're reading spawns correctly. If you want kills without the chaos, Team Deathmatch produces 1.4-1.8 kills per minute at a steadier pace.
How do you play Capture The Flag for kills instead of just the objective?
The trick is to treat the flag as a kill-trap rather than the main goal. The flag carrier moves slowly, so they become the easiest kill on the map for a 5-second window after pickup. Hold the mid-cut angle behind your friendly base and intercept the carrier before they reach your flag stand — that single intercept usually converts into one kill and one flag return, which feeds both the kill feed and the objective.
Is Facility good for kill grinding?
Facility is bursty rather than steady, so it produces fewer kills per minute than FFA or TDM, but the kills you do get tend to be chain kills. The wave-start 3-second window is the most efficient frag block in the entire mode — holding the side corridor during wave start can chain 2-4 kills per wave, which adds up fast across a 10-minute match.
What aim drill gives the most kills-per-hour transfer?
The Corner-Flick Peek drill is the highest-ROI exercise because most live kills happen within 10 meters of a corner. Spending 2-3 minutes per session on corner flicks translates into roughly 20% more first-shot hits in live matches, which directly increases your kill-per-minute rate. Pair it with the 360° Strafe Track drill for movement-heavy gunfights and you cover most of the engagement space in Base Wars.
Should I use a tracker fighter to grind kills?
Tracker fighters are excellent for objective modes and retake pressure, but they're situational in pure kill modes. They shine when the enemy is moving predictably — flag carriers in CTF, retreating players in Facility late-wave, and respawning players in TDM. In FFA, where every player is moving erratically, an SMG or assault rifle usually produces a higher kill count per minute.