Understanding the full Base Wars game modes playlist changes how you approach every spawn, because each mode rewards a different set of habits. Some players chase eliminations, while others stack objective points, and the gap between those two approaches determines whether you win or just survive. This breakdown covers the core modes, their maps, and the win conditions that actually matter when the timer is running down.
Core Game Modes and Their Win Conditions
Base Wars splits its PvP experience into several distinct modes, each with a unique scoring loop that forces you to rethink positioning and loadout choices. The primary modes that appear in most playlists include Capture the Flag, Defend the Line, The Trials, and Tournament Mode, though the exact rotation can shift depending on the server configuration and update cycle. Knowing the win condition before you queue prevents the common mistake of treating every mode like a deathmatch.
The table below summarizes the core objective and primary scoring vector for each mode, based on community testing and player reports as of the current patch cycle. Because scoring conditions vary so sharply between modes, the same loadout can swing from optimal to near-useless depending on what you queue into — a high-mobility Capture the Flag build built around speed perks and flag-run routing on maps like Underground War will struggle to hold a contested zone in Defend the Line, where area denial tools and sustain matter more than raw escape potential. Players who check the win condition before locking in their kit consistently report fewer early-round eliminations and faster objective progress, since they are not spending the first minute of a match re-learning what actually moves the scoreboard.
| Mode | Primary Objective | Win Condition | Best Loadout Focus |
|---|---|---|---|
| Capture the Flag | Grab enemy flag and return it to your base | Reach flag capture limit or hold most captures at timer end | Mobility and survivability |
| Defend the Line | Hold a contested zone against waves or enemy pushes | Control the zone for the required duration | Area denial and sustain |
| The Trials | Complete sequential objective stages | Finish all stages before the opposing team | Versatile mid-range builds |
| Tournament Mode | Bracket-style elimination rounds | Win your match to advance; final victory takes the bracket | Balanced competitive setups |
Each mode pushes you toward a different rhythm. Capture the Flag rewards speed and route knowledge, while Defend the Line punishes teams that overextend. The Trials demands adaptability because the objective changes between stages, and Tournament Mode is about consistency under pressure. Players who rotate between modes often report that skills from one mode bleed into another, especially map awareness and spawn timing.
How Capture the Flag Wins Matches
Base Wars capture the flag follows a familiar structure but adds a few twists that catch new players off guard. The flag carrier is marked on the map, which means stealth is less about hiding and more about choosing routes that limit enemy sightlines. Dropping the flag resets a return timer, so defenders can force a reset by focusing the carrier rather than chasing the entire enemy team.
The scoring loop works like this: a capture only counts when three conditions align simultaneously — the enemy flag is physically on your pedestal, your own flag is still sitting at base, and the carrier survives long enough to complete the interaction. This means a team can execute a perfect flag grab, fight through mid, and still walk away with zero points if a lone enemy runner pulled your flag seconds earlier. In practice, the loop rewards teams that treat flag control as a two-sided equation: the carrier’s route matters less than the timing of your defender’s stall, because a single defender who delays the enemy carrier by even five or six seconds often buys enough time for your offense to finish the return and convert the capture.
-
Grab the enemy flag from their base pedestal
-
Carry it back to your own flag pedestal
-
Score only if your own flag is still at base
-
If your flag is taken, you must return it before scoring
This creates a natural push-pull where teams have to split between offense and defense. A common mistake is sending all four players to attack, leaving your own flag exposed. Community data suggests that teams with at least one dedicated defender win significantly more capture exchanges, because the defender can stall the enemy carrier long enough for teammates to rotate back.
Defend the Line Objective Flow
Base Wars defend the line mode shifts the focus from mobility to zone control. The contested area sits near the center of the map, and both teams earn points for holding it uncontested. The catch is that standing in the zone makes you an easy target, so successful teams use cover and crossfire rather than stacking bodies on the point.
The hold timer pauses when both teams have players in the zone, which means a single defender can stall an entire enemy push. This mechanic rewards coordinated entry rather than trickling in one by one. Teams that push together with a frontline tank and a support healer tend to break stalemates faster, because the tank absorbs the initial burst while the support keeps the entry alive long enough to force the enemy off the point.
Map Rotation and Strategic Callouts
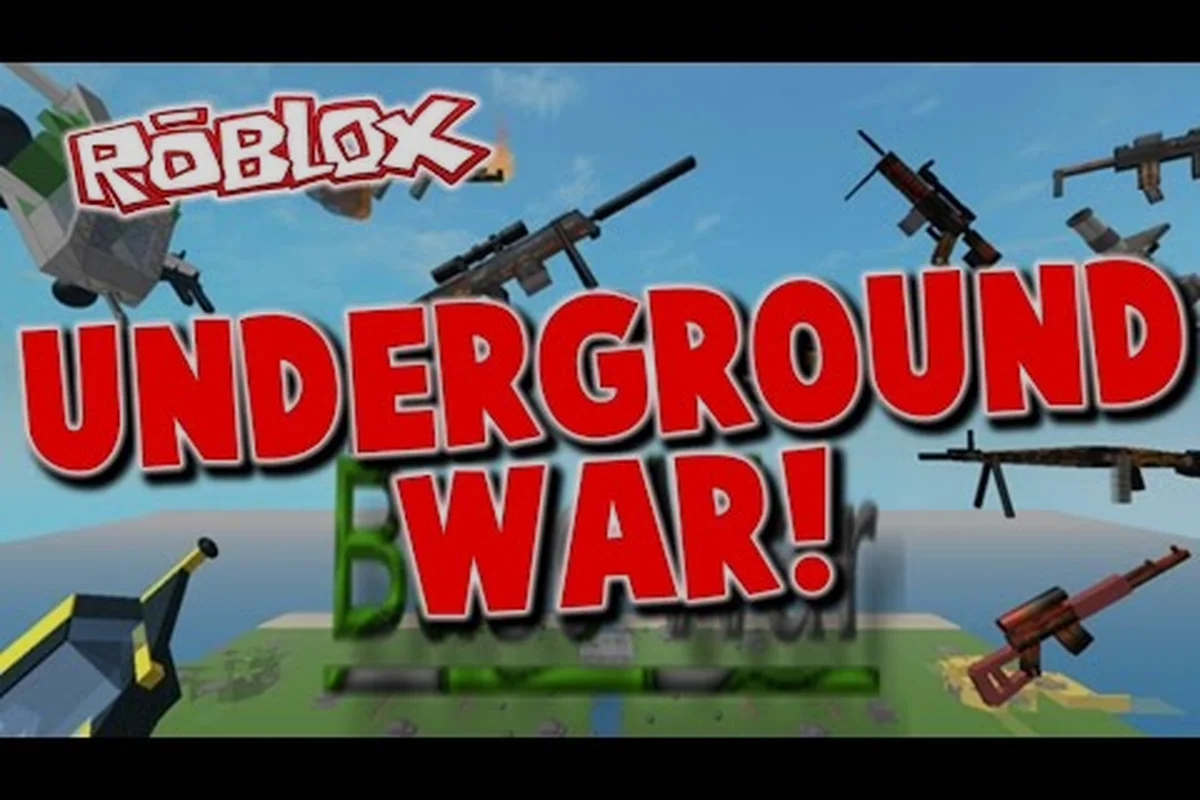
The Base Wars map list includes several arenas that rotate through different modes, and each map has unique sightlines that change how you approach the same objective. The Underground War map stands out because its tight corridors and vertical drops create ambush opportunities that open maps lack. Learning the callouts for each map gives you a communication advantage, especially in modes where split-second rotations decide the outcome. ** stands out because its tight corridors and vertical drops create ambush opportunities that open maps lack. Learning the callouts for each map gives you a communication advantage, especially in modes where split-second rotations decide the outcome, and that same callout discipline carries over when you need to coordinate point captures under the shifting control rules in Base Wars Mode Rules.
Underground War Map Layout
The Base Wars underground war map features a central tunnel system with two flanking routes that connect to elevated platforms. The flag or zone typically sits in the central chamber, but the flank routes let attackers approach from above or below. Players who control the upper catwalk can rain fire down on the objective, while the lower tunnel offers a quieter rotation path for flankers.
Key callouts on this map include the Pit, Catwalk, Side Tunnel, and Back Door, each of which dictates a different engagement style. The Pit is where most objective fights collapse into close-range brawls, so shotguns and area-denial tools like the Defend the Line barricades shine there. The Catwalk rewards long-range loadouts and gives Capture the Flag defenders a sightline to intercept carriers before they reach the Back Door. Meanwhile, Side Tunnel rotations let Tournament Mode squads split the enemy's focus without exposing themselves to the central choke.
-
The Pit: the low-ground central area where the objective usually sits
-
Catwalk: the elevated walkway overlooking the Pit
-
Side Tunnel: the narrow flank route that connects spawn to the objective
-
Back Door: the rear entrance that attackers use to bypass the main choke
The Underground War map punishes teams that clump together, because a single explosive or area-denial ability can hit multiple targets in the tight corridors. Spreading out through the Side Tunnel and Catwalk forces the enemy to split their attention, which creates openings for a flag grab or a zone capture.
Other Maps in the Rotation
The full Base Wars map list includes several other arenas that appear in the standard playlist, and each one forces a different engagement rhythm. On Underground War, the tight corridors and vertical angles punish players who push mid without checking upper-floor cutoffs, so Defend the Line squads tend to anchor near the central stairwell while Capture the Flag runners loop through the lower tunnel. Open Field, by contrast, has almost no cover between spawn and the objective, meaning a single marksman with a long-range rifle can lock down an entire lane before the enemy team even reaches the flag. Factory District splits the difference with mixed indoor/outdoor sightlines, which rewards loadouts that can pivot between medium-range duels and close-quarters flanks depending on which side of the map you commit to. Because each map has a distinct size and sightline profile, your loadout choice should adapt to the map you draw rather than staying fixed across the rotation.
| Map Name | Size | Sightline Profile | Best Mode Fit |
|---|---|---|---|
| Underground War | Medium | Tight corridors, vertical angles | Capture the Flag, Defend the Line |
| Open Field | Large | Long sightlines, minimal cover | Tournament Mode, The Trials |
| Factory District | Medium | Mixed indoor/outdoor, medium range | Defend the Line, Capture the Flag |
| Rooftop Arena | Small | Vertical drops, close quarters | Tournament Mode |
The map you draw changes the value of certain weapons. Long-range rifles dominate on Open Field, while shotguns and SMGs shine in the Underground War map's tight corridors. Players who stick to one loadout regardless of map often report inconsistent results, because the same weapon that carries on one map can be a liability on another.
The Trials Mode Breakdown
Base Wars the trials mode introduces a staged objective system that tests different skills in sequence. Instead of a single repeating objective, teams must complete a series of challenges that escalate in difficulty. The stages vary by match, but common patterns include a capture stage, a hold stage, and a final elimination stage where respawns are disabled.
| Stage | Objective | Respawn Rule | Key Skill Tested | Recommended Resource Timing |
|---|---|---|---|---|
| Capture | Secure the designated zone before the opposing team | Enabled | Rotational speed and entry fragging | Spend 30–40% of cooldowns to win the initial trade |
| Hold | Maintain zone control until the stage timer expires | Enabled | Patience, crossfire positioning, and angle discipline | Bank 50% of cooldowns for the final push |
| Final Elimination | Wipe the enemy team with no respawns | Disabled | Clutch mechanics and ultimate economy | Commit all remaining cooldowns and consumables |
The staged structure means that early performance matters less than adaptability. A team that dominates the first capture stage can still lose if they fail to adjust to the hold stage, because the hold stage rewards patience and positioning rather than aggression. Players who understand the stage flow can bank resources and cooldowns for the final push, while teams that burn everything early find themselves empty-handed when it matters most.
Stage Progression and Scoring
The Trials mode tracks progress through a stage meter that fills as your team completes objectives. Each stage has a time limit, and failing to complete a stage before the timer expires hands the round to the opposing team. The final stage typically removes respawns, which turns the match into a sudden-death elimination where every player has one life.
The scoring system rewards stage completion over raw eliminations. A team can lose the elimination battle in early stages but still win the match by completing objectives faster. This means that players who focus on the objective rather than chasing kills tend to perform better in The Trials, because the points from stage completion outweigh the points from eliminations.
Tournament Mode and Competitive Play
Base Wars tournament mode strips away the casual elements and focuses on bracket-style competition. Teams enter a bracket and play single-elimination or double-elimination matches until one team remains. The mode uses a standardized ruleset that locks loadouts to a competitive pool, which means you cannot rely on overpowered casual-only gear.
The bracket structure changes the mental game. In casual modes, a loss is a minor setback. In Tournament Mode, a loss sends you home, which means every decision carries more weight. Teams that practice specific map strategies and coordinate their loadouts tend to advance further, because the margin for error shrinks as the bracket narrows.
Tournament Mode Checklist
Preparing for Tournament Mode requires more than just mechanical skill — it demands a systematic approach to the five variables that most often decide bracket outcomes. Teams that skip preparation typically lose their first match not because they were out-aimed, but because a defender pushed when they should have held, or two players burned their cooldowns on the same engagement. The following checklist covers the key areas that competitive teams focus on before entering a bracket:
-
Map callout mastery: know every callout on the competitive map pool
-
Loadout synergy: coordinate roles so your team covers all ranges
-
Objective priority: agree on who pushes and who defends before the match starts
-
Cooldown management: track your team's cooldowns and engage when they align
-
Tilt control: have a reset plan for when a round goes badly
Teams that check all five boxes report more consistent bracket runs, because they eliminate the variables that cause mid-match confusion. The difference between a good team and a great team in Tournament Mode often comes down to communication rather than raw aim.
Frequently Asked Questions
What are the main Base Wars game modes?
The main Base Wars game modes include Capture the Flag, Defend the Line, The Trials, and Tournament Mode. Each mode has a distinct objective and win condition, so the right mode for you depends on whether you prefer mobility, zone control, staged challenges, or bracket-style competition.
How does Base Wars capture the flag work?
Base Wars capture the flag requires you to grab the enemy flag and return it to your own base while your flag is still there. The carrier is marked on the map, and dropping the flag resets a return timer. Teams need at least one defender to prevent the enemy from scoring while your attackers push.
What is the Base Wars underground war map like?
The Base Wars underground war map features tight corridors, vertical angles, and a central objective area called the Pit. The upper Catwalk and Side Tunnel provide flank routes that let attackers approach from multiple directions. The map rewards spread-out positioning and punishes teams that clump together in the narrow chokes.
How do I win in Base Wars defend the line mode?
To win in Base Wars defend the line, your team must control the contested zone for the required duration. The hold timer pauses when both teams have players in the zone, so coordinated entry with a frontline tank and support healer breaks stalemates faster than trickling in one by one.
Is Base Wars tournament mode different from casual play?
Yes, Base Wars tournament mode uses a bracket structure with a standardized competitive loadout pool. Losses eliminate your team from the bracket, so every decision carries more weight. Teams that practice map callouts, coordinate loadout roles, and manage cooldowns together tend to advance further in the bracket.