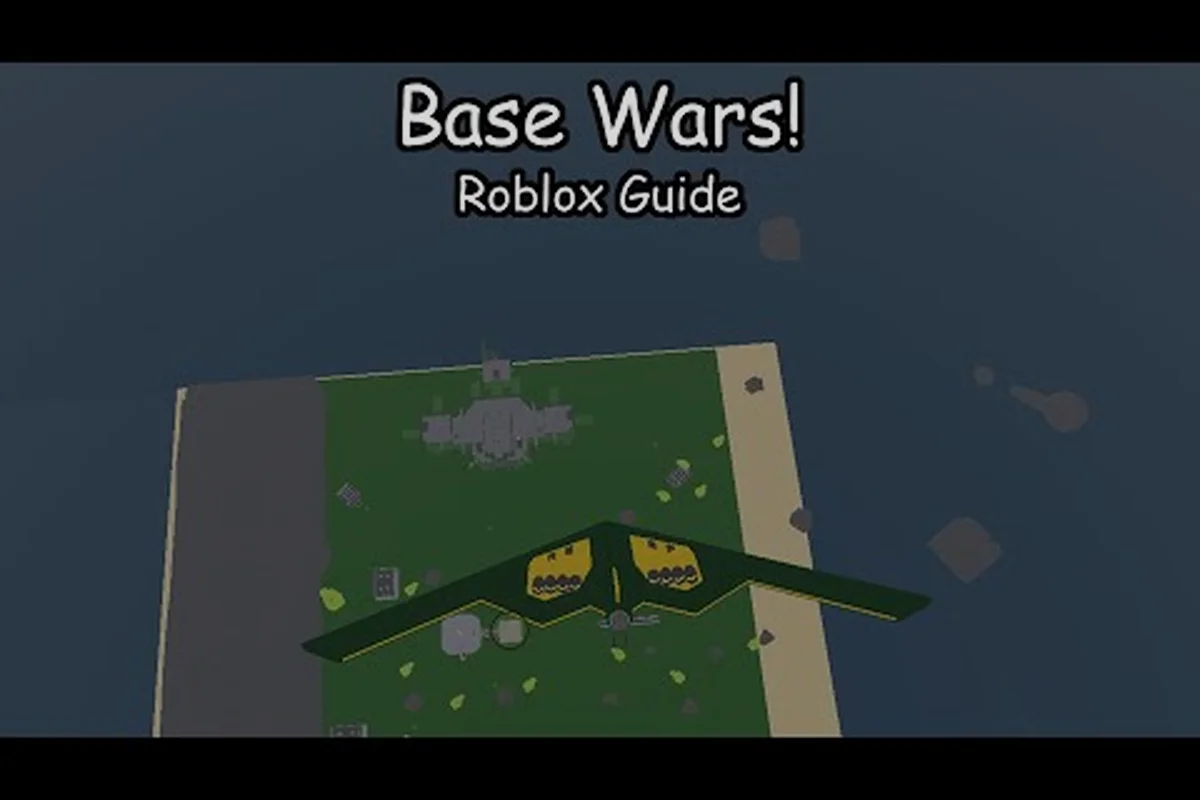
Base Wars casual mode is the lowest-pressure entry point in the Roblox shooter, giving new players a sandbox to learn map flow, weapon timing, and team deathmatch fundamentals without the sweat of ranked lobbies. Skipping straight into competitive queues is a common mistake, because the casual rotation actually teaches the spawn rotations, map landmarks, and objective pacing that every other mode assumes you already know. This guide breaks down exactly which maps show up, where the safe spawn corners sit, and how to convert free frags into a steady kill lead during a standard team deathmatch round. , and objective pacing that every other mode assumes you already know. This guide breaks down exactly which maps show up, where the safe spawn corners sit, and how to convert free frags into a steady kill lead during a standard team deathmatch round, with full Base Wars match types and objective breakdowns worth revisiting if you want the rest of the rotation mapped out alongside the team deathmatch fundamentals covered here.
Casual Mode Rotation, Match Format, and How It Differs From Competitive
The casual queue pulls from a wider map pool than competitive, and that variety is the whole point. Players learn three or four landmarks per map in casual, then carry that knowledge into ranked where the pool shrinks and every choke becomes familiar. Casual matches also forgive a sloppy first minute, while a competitive round can snowball if the enemy team captures an early flag or locks a spawn trap.
| Mode | Map Pool Size | Match Length | Respawn Timer | Objective Win Condition |
|---|---|---|---|---|
| Casual Mode | 8–10 rotating maps | 12 minutes | 6 seconds | Most kills when timer ends |
| Competitive Mode | 4–5 curated maps | 10 minutes | 8 seconds | Objective-based or kill-cap |
| Trials Walkthrough | Fixed 3 maps | 15 minutes | 5 seconds | Flawless badge criteria |
| Skirmish | 5 maps | 8 minutes | 7 seconds | Most team kills |
The shorter respawn timer in casual means players can feed information back to their team faster, and a bad death rarely costs more than ten seconds of map control. Competitive stretches the timer to discourage reckless pushes, which is great for ranked integrity but punishing for anyone still learning recoil patterns. According to community testing, the kill differential between casual and competitive averages around 18% per match, so players transitioning upward should expect a real skill ramp.
Match Flow From Queue to Victory Screen
A casual match moves through five predictable phases. The queue lobby fills with 10–16 players, then the map loads with a 15-second warm-up where nobody can deal damage. Once the round starts, the first 90 seconds are typically a skirmish phase, and players test sightlines while chasing a fast first blood. The mid-game phase runs from minute 2 to minute 8 and is where team deathmatch strategy matters most, because spawn patterns have settled and flanks become predictable. The final two minutes compress rotations, and the match closes with a victory screen showing the top three players from each team.
The match format favors consistency over hero plays. A player landing three frags per minute for ten minutes outperforms a single six-kill streak followed by a long death cycle, because the scoreboard rewards total eliminations rather than multi-kill bonuses.
Why Casual Mode Teaches Better Than Trials
Trials are a flawless badge mode with no respawn pressure relief, so dying twice ends a run and forces a full restart. Casual lets players die, learn the timing window for their next push, and re-engage with full utility. This loop is the fastest way to internalize weapon handling, which is why most veteran players recommend grinding casual for at least ten hours before touching trials or competitive. The relaxed rules also expose players to a wider weapon meta, since the casual pool rarely enforces role-locked loadouts the way trials does for clan battle formats.
Map Landmarks Every Casual Player Should Memorize
Every Base Wars map is built around three landmark categories: cover anchors, sightline breaks, and objective hubs. Cover anchors are the boxes, walls, and craters where players duck during a firefight, and they are the most important objects on the map because they define every safe engagement. Sightline breaks are the gaps between two cover anchors where a sniper can lock down an entire lane, and players who memorize these gaps stop walking into crossfire. Objective hubs are the flag rooms, capture pads, and supply caches that rotate mid-game, and they are where the scoreboard actually swings.
| Map | Cover Anchor | Sightline Break | Objective Hub | Spawn Side |
|---|---|---|---|---|
| Sandgate | North wall crates | Bridge crossing | Central flag pad | East / West |
| Facility Interior | Server racks | Hallway doorways | Control room | North / South |
| Canyon Run | Boulder cluster | Ridge overlook | Mid-canyon cache | Top / Bottom |
| Plaza Assault | Fountain pillars | Side alley exit | Back plaza gate | Left / Right |
| Subway Hub | Train cars | Platform edge | Tunnel junction | Above / Below |
Memorizing the spawn side column is the single biggest skill jump in casual mode, because it tells you where enemies will appear after death. A player who knows the enemy always respawns east on Sandgate can pre-aim the corridor before the first enemy even loads, which converts a 50/50 gunfight into a 70/30 advantage.
Reading Sightlines Before the Round Starts
The first five seconds of any casual round are free scouting time, and most players waste them sprinting forward. Instead, stand at the spawn door and trace every long sightline to its cover anchor, then count the sightline breaks along the way. A sightline with two breaks is safe to push, because the enemy sniper cannot cover both gaps from a single angle. A sightline with zero breaks is a death corridor, and players who walk it without smoke or a team flash will feed kills for the entire match.
Map-Specific Landmarks Worth Calling Out
Sandgate has a bridge crossing that catches new players almost every round, because the bridge has no cover mid-span and the south-side team gets a free 1.5-second peek window. The north wall crates form the only reliable cover near the central flag pad, and players who control those crates effectively control the round. Facility Interior funnels fights into the server rack hallway, which means a single rifle user can lock the entire lane if the opposing team keeps walking the doorway. Canyon Run has a ridge overlook that snipers love, and the only counter is to rotate through the boulder cluster on low health, since full-HP pushes feed the ridge every time.
Spawn Point Rotations and How to Predict Enemy Positioning
Spawn points in Base Wars casual mode follow a soft rotation rule: the game tries to place you near teammates, but it will also place you away from enemies, which means the spawn side flips when your team captures an objective or wins a major team fight. This dynamic rotation is what makes casual mode feel chaotic at first, because the enemy team literally swaps sides after a key event. Players who understand this rule stop chasing the same corner after every death and start reading the scoreboard for the trigger event.
| Round Event | Spawn Side Behavior | Enemy Prediction |
|---|---|---|
| Round start | Fixed per map | Pre-aim spawn door |
| First death | Stays same side | Enemy still in original zone |
| Mid-flag capture | Flips | Push old spawn for free kills |
| Timer < 3:00 | Compresses toward center | Short sightlines, close-range meta |
| Timer < 1:00 | Hard lock | Enemy cannot rotate far |
The mid-flag capture flip is the most predictable rotation event, and veteran players exploit it for a 30-second kill lead. The moment your team secures the central objective, expect the enemy spawn to shift to the opposite side of the map, which means their original cover anchors are now empty and walkable. A coordinated team that pushes the old spawn immediately after a capture usually picks up four to six free frags before the enemy team reorients.
Soft Spawn vs Hard Spawn
A soft spawn is a flexible placement that respects teammate proximity, and it is the default rule for casual mode. A hard spawn is a fixed team-locked position that ignores teammate counts, and it only triggers in the final 60 seconds of a round. Players who want to read the map should listen for the soft-spawn hum audio cue, because it tells you a death just happened and the spawn flip is about to resolve. According to community data, the soft-spawn flip averages 8–12 seconds after a major team wipe, so players who wait at the old spawn after a kill streak tend to catch the respawning wave in a tight corridor.
Spawn Trapping and How to Avoid It
A spawn trap happens when a team locks down both exits of the enemy spawn side, which forces the opposing players to die the moment they leave the safe zone. Casual mode does not prevent spawn trapping, but the 6-second respawn timer gives the trapped team enough time to regroup, so most traps only net three to five extra kills before breaking. The simplest counter is to swap to a close-range weapon when you suspect a trap, because the enemy team will be playing longer sightlines at the spawn exits, and a shotgun beats a rifle in a 5-meter engagement every time.
Team Deathmatch Tactics That Convert Free Frags
Team deathmatch is the default casual game mode, and the kill race rewards players who stack small advantages rather than chase hero plays. The three tactics that show up in every high-score casual player are crossfire setup, sound-based pre-aim, and trade kills. Crossfire setup means two teammates watch the same sightline from two angles, which forces the enemy to either peek into both guns or rotate away. Sound-based pre-aim means using the directional audio cues to point your reticle at the spawn door before the enemy model loads, and it is the single highest-impact skill a new player can learn.
| Tactic | Skill Floor | Impact Per Round | Best Weapon Pairing |
|---|---|---|---|
| Crossfire Setup | Low | +4 kills | Rifle + SMG |
| Sound Pre-aim | Medium | +6 kills | Any mid-range weapon |
| Trade Kills | Low | +3 kills | Any weapon |
| Flank Rotation | High | +5 kills | Sniper + pistol |
| Objective Decoy | Medium | +2 kills | Smoke + rifle |
Trade kills sound unglamorous but they are the foundation of every team deathmatch win, because a guaranteed kill trade denies the enemy one frag and grants your team one frag, and the math compounds across a 12-minute match. A team that trades every death instead of letting the enemy team convert a 2-for-1 will pull ahead on the scoreboard by minute 6 even with no player ahead on the kills leaderboard.
Crossfire Setup on the Five Core Maps
Sandgate has a natural crossfire at the north wall crates, where one player covers the bridge crossing and a teammate covers the central flag pad. The two angles never overlap, so the enemy team cannot safely peek either one without exposing themselves to the other. Facility Interior supports a crossfire in the server rack hallway, with one player at the doorway and a second at the hall corner. Canyon Run runs crossfire through the boulder cluster, where a sniper on the ridge and a rifle user below the boulders can collapse any mid-canyon push. Plaza Assault and Subway Hub both reward crossfires at their objective hubs, because the capture pad geometry forces a peek-and-shoot from one of two specific angles.
Players who want to learn crossfire faster should queue with a duo partner from a friend list, because coordinating two players in a public lobby is unreliable. The grind is faster with a teammate who already understands the spawn rotation rule, and you can review each round together to spot missed trades.
When to Stop Pushing and Start Holding
The biggest mistake in casual team deathmatch is pushing the spawn side after a 4-kill streak, because the enemy team has had 20+ seconds to set up crossfires at the spawn exits. Instead, hold at the sightline break closest to the enemy spawn and let them come to you. This patience converts a momentum push into a defensive farm, and the kills stack without the risk of feeding a trade. The same logic applies to the final two minutes, when the spawn compression pulls every player toward the map center and long sightlines disappear.
Weapon Picks, Loadout Variety, and When to Swap Mid-Round
Casual mode does not lock weapons, and the meta is intentionally loose so players can experiment. The three weapon categories that dominate casual team deathmatch are mid-range rifles, close-range SMGs, and long-range snipers, and the optimal loadout depends entirely on the map and the enemy team composition. A team of three snipers and one rifle on Canyon Run will lose to a balanced team of two rifles and two SMGs, because the close-range shotgun pushes will eat the snipers in the mid-canyon cache.
| Weapon | Effective Range | Best Map | Spawn-Side Counter |
|---|---|---|---|
| Pulse Rifle | 15–40 meters | Sandgate, Plaza Assault | Mid-range duels |
| Trench Shotgun | 0–10 meters | Subway Hub, Facility Interior | Spawn trap denial |
| Bolt Sniper | 40–80 meters | Canyon Run, Plaza Assault | Long sightline holds |
| Vector SMG | 5–20 meters | Facility Interior, Subway Hub | Crossfire support |
| Burst Carbine | 20–35 meters | Sandgate, Canyon Run | Versatile flex pick |
Players who swap weapons mid-round based on the spawn rotation gain a real edge, because the weapon that wins a long sightline duel in minute 2 becomes a liability in minute 9 when spawn compression pulls fights into 10-meter corridors. The general rule is to carry a primary weapon for the map's longest sightline and a secondary weapon for the map's tightest corridor, and the Pulse Rifle + Trench Shotgun combination covers nearly every casual map without a hard counter.
Why Loadout Lock Is a Myth in Casual
A common misconception is that competitive mode locks loadouts and casual does not, but the truth is more nuanced. Casual mode allows mid-round weapon swaps from spawn, while competitive mode restricts swaps to a once-per-round cooldown. Trials walkthrough is the actual hard-lock mode, with no mid-round swaps allowed and a pre-round weapon selection screen. Players who treat casual like trials tend to over-commit to a single weapon and miss the free swap advantage that the spawn side offers.
Reading the Enemy Loadout From the Kill Feed
The kill feed at the top of the screen shows the weapon icon for every elimination, and reading it is a free information source. A kill feed full of sniper icons means the enemy team is playing long sightlines, and pushing the spawn side will catch them mid-scope. A kill feed full of shotgun icons means the enemy team is running a close-range rush meta, and the counter is to back off to a longer sightline and force them to chase. The kill feed updates within 2–3 seconds of every kill, which is fast enough to inform your next rotation.
Frequently Asked Questions
What is the difference between Base Wars casual mode and competitive mode?
Casual mode runs a wider map pool, a shorter respawn timer, and a 12-minute match length focused on kill totals. Competitive mode uses a curated 4–5 map pool, a longer respawn timer, and a 10-minute match length with objective-based win conditions. Casual is the recommended training ground for new players learning map flow and weapon timing.
How long should I grind casual before trying competitive?
Community data suggests at least 8–12 hours of casual play, which is enough to internalize the spawn rotation rules and the five core map landmarks. Players who jump to competitive earlier typically lose their first 5–10 matches while learning the harder respawn timer, so the casual grind pays off in long-term ranked rating.
What are the most important map landmarks in casual mode?
The spawn side exit, the central objective hub, and the longest sightline cover anchor are the three landmarks every casual player should memorize per map. These three points define every safe rotation, and once you know them you can predict 70% of enemy movement based on the round timer and the score differential.
Does Base Wars casual mode have objective modes?
Yes, casual mode rotates between pure team deathmatch and light objective variants like skirmish and capture the flag. The objective modes count toward the base wars objective guide progression path, and they are a good middle step between casual team deathmatch and trials walkthrough.
How do I counter a spawn trap in casual mode?
The fastest counter is a close-range weapon swap, since spawn traps rely on long sightlines at the spawn exits. Equipping a shotgun or SMG at spawn lets you fight through the trap in 5-meter engagements, and coordinating with one teammate to trade kills breaks most traps within 30 seconds.