Game Modes
Base Wars game modes explained: Capture the Flag, facility control, line defense, skirmishes and Trials, with tactics for what each format actually rewards.
Introduction
Base Wars rotates objective-driven formats instead of pure deathmatch, and each one rewards a different skill. Capture the Flag duels are won by mobility and route control, facility control by positioning that beats raw aim, line defense by trading space for time, and skirmishes by fast, chaotic aggression. On top of the rotation sit tournament brackets and timed Trials challenges that award the Flawless and Speedrunner badges. This page breaks down what each mode actually rewards, the team habits that win it, and the loadout biases that translate best between formats, so you stop playing every match like a ranked frag hunt.
Mode Quick Reference
| Mode | What It Rewards | Key Habit |
|---|---|---|
| Capture the Flag | Mobility, route control and map awareness | Call rotations before the flag is even grabbed |
| Facility | Positioning and coordinated pushes | Hold angles, trade damage, never peek alone |
| Line Defense | Patience and space management | Give ground deliberately to buy time |
| Skirmish | Raw aggression and target priority | Keep moving and focus fire the nearest threat |
Mode Breakdowns
Capture the Flag
The flagship duel of Base Wars — mobility picks and route control decide almost every single run.
Facility Control
Hold-the-facility brawls where smart positioning beats raw mechanical aim almost every single time.
Line Defense
Defend the line by digging in, managing your angles and deliberately trading space for time.
Skirmish
The fast chaotic brawl format featured in Roblox event challenges and dedicated badge attempts.
Core Mechanics
All modes share the same scoring engine — kills, headshots and objective plays feed Battle Score — but they distribute where that score comes from. In flag formats, points follow successful runs and returns, so speed builds and escape routes matter as much as aim. Facility and line defense pay for presence on the point, rewarding players who stay alive in the contested zone rather than chasing kills elsewhere. Skirmishes compress everything into constant contact, inflating kill counts but lowering each individual fight's value. Trials events layer timed objectives over these rules, with extra badge conditions like clearing without dying or finishing under a par time.
Advantages
Objective modes give every skill set a way to contribute. A precise shot holds a lane, a fast kit runs the flag, and a heavy armor anchor simply refuses to leave the point — all three earn score and win rounds. That diversity also keeps matches fresh: the same rifle that dominates a skirmish can be useless in a flag run where speed beats damage. Learning the full rotation builds transferable fundamentals — timing, positioning and team communication — that carry into every other page on this wiki, from loadouts to tier decisions. Modes also gate several badge routes, so mode fluency directly unlocks achievement progress.
Challenges
Mode knowledge has clear limits. The complete official menu list is not publicly enumerated by the developers, and in-game naming has shifted across updates, so treat our pages as tactics references and confirm exact labels in the client. Some keywords in search suggest team deathmatch style formats that are not confirmed — do not assert them. Solo queue coordination varies wildly; a correct read of a mode still loses when three teammates play it as a frag hunt. Finally, event-affiliated formats such as The Hunt 20 skirmishes appear only during their windows, so archived tactics may not apply live without checking the current rotation first.
Frequently Asked Questions
Which mode should I learn first?+
How do Trials challenges work?+
Do modes change my unlock priority?+
Quick Tips
Call your rotations out loud, even in solo queue. Flag and facility formats hinge on the team knowing when to collapse on a point and when to peel back, and one player announcing enemy positions changes more fights than extra damage does. If nobody else is talking, you start the habit — short calls like one enemy on flag or pushing left door cost nothing and routinely save a round.
Play the objective before you chase the kill. A player standing on the capture point applies pressure that shows up on the scoreboard and in the win column, while a flanking kill with nobody on the point changes nothing. When in doubt, default to the objective: score from presence is steady, and your team's odds improve the moment bodies contest the zone instead of wandering the map edges.
Learn one shortcut or flank per map per mode. Every format has a route the average player never uses — a side door into the facility, a rooftop angle onto the flag lane, a shoreline path behind a defense line — and knowing just one of these per map gives you initiative. Rotate between them so defenders cannot pre-aim your entry, and record which routes your teammates actually follow versus the ones that need backup.
Featured
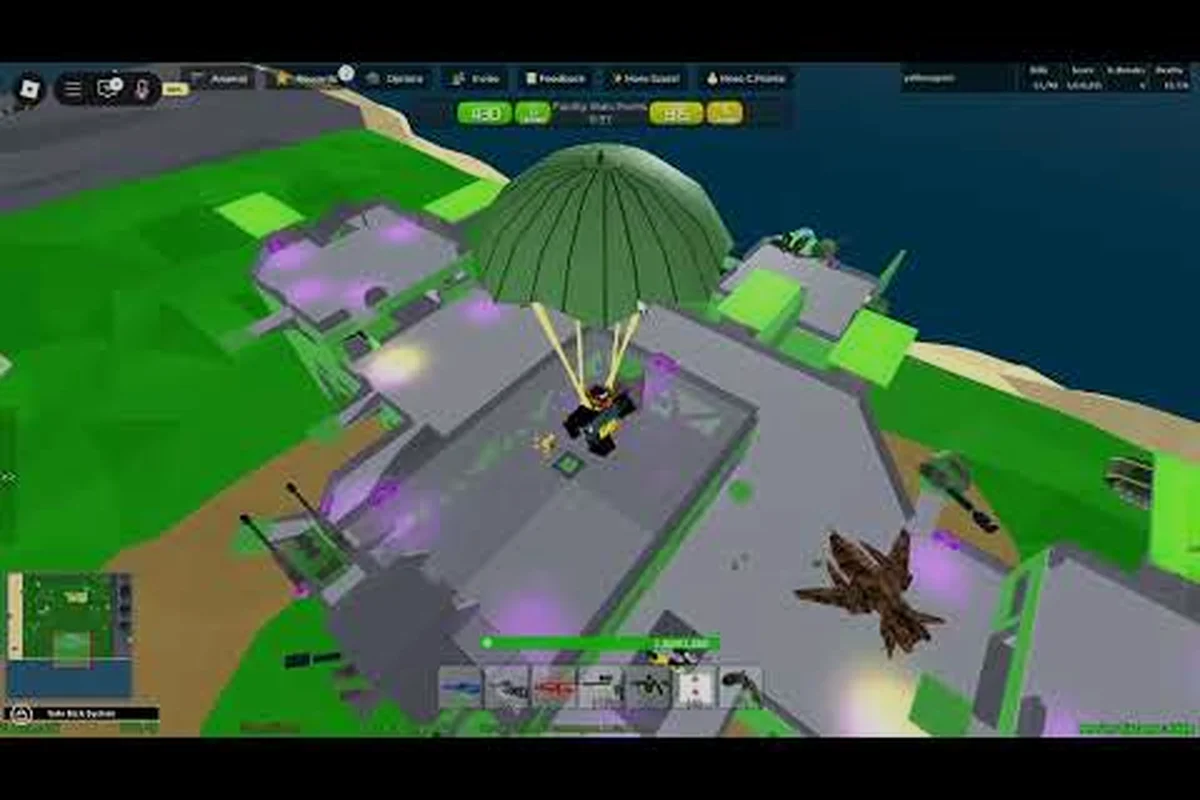
Base Wars Beginner Friendly Modes: CTF, Facility & Skirmish Picks
Find the Base Wars beginner friendly modes like CTF, Facility, and Skirmish that teach the maps and battlegrounds without punishing new players.
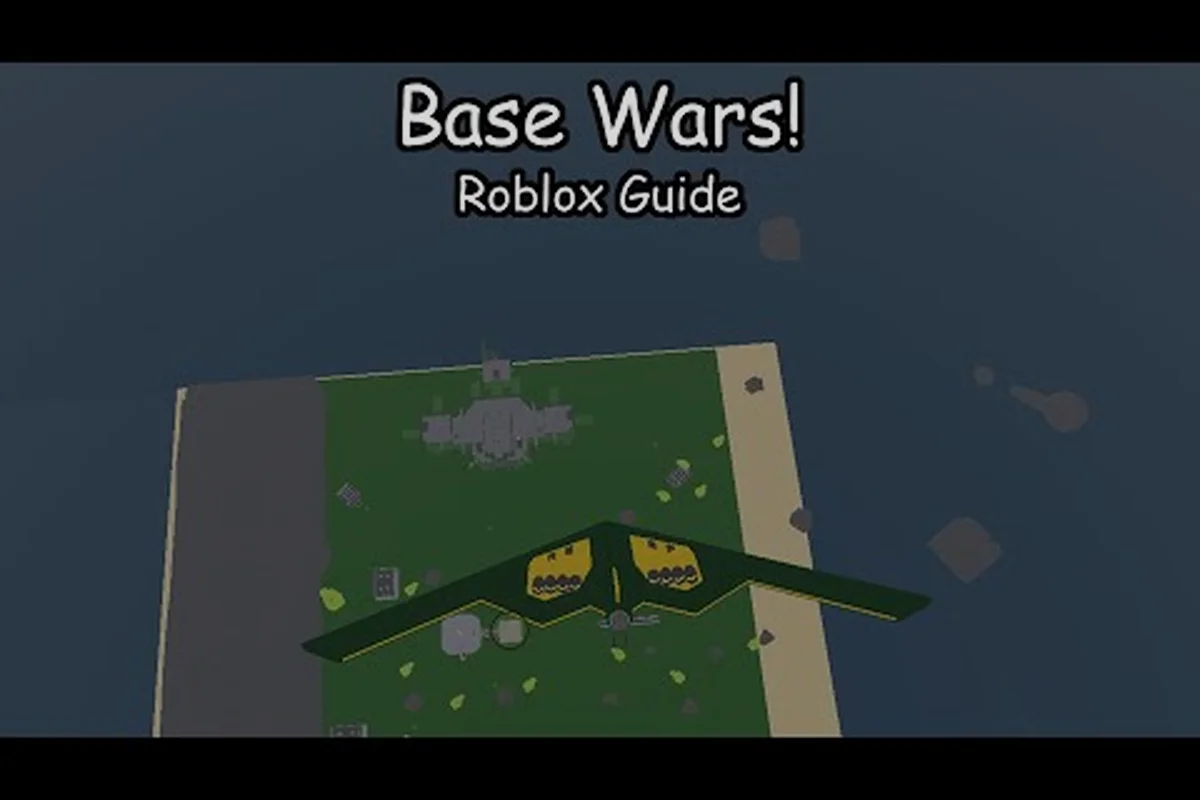
Base Wars Casual Mode: Spawn Points, Maps & Team Deathmatch Tips
Drop into Base Wars casual mode with the best map landmarks, spawn point rotations, and team deathmatch tactics that rack up easy frags for new players.
Base Wars Game Modes: Maps, Objectives & Win Conditions
Explore every Base Wars game modes playlist with map callouts, objective breakdowns, and win condition tips that help you pick the right mode for fast frags.
All Articles
Base Wars Best Mode for Kills: Fastest XP & Top Frag Setups
Find the Base Wars best mode for kills with breakdowns of respawn timers, player density, and the loadout picks that stack KOs the fastest.
Base Wars Match Types: Casual, Competitive & Underground War
Compare Base Wars match types from casual team fights to competitive tournaments and the underground war playlist, with the right mode for every playstyle.
Base Wars Mode Rules: Round Structure, Scoring & Win Conditions
Learn the Base Wars mode rules for capture, defense, and facility rounds, including how scoring, respawns, and round limits shape every match.
Base Wars Trials Walkthrough 2026: Stages, Badges & Clear
Clear every Base Wars Trials stage with this 2026 walkthrough covering badge objectives, loadout swaps, and the fastest route to a flawless hidden reward.