
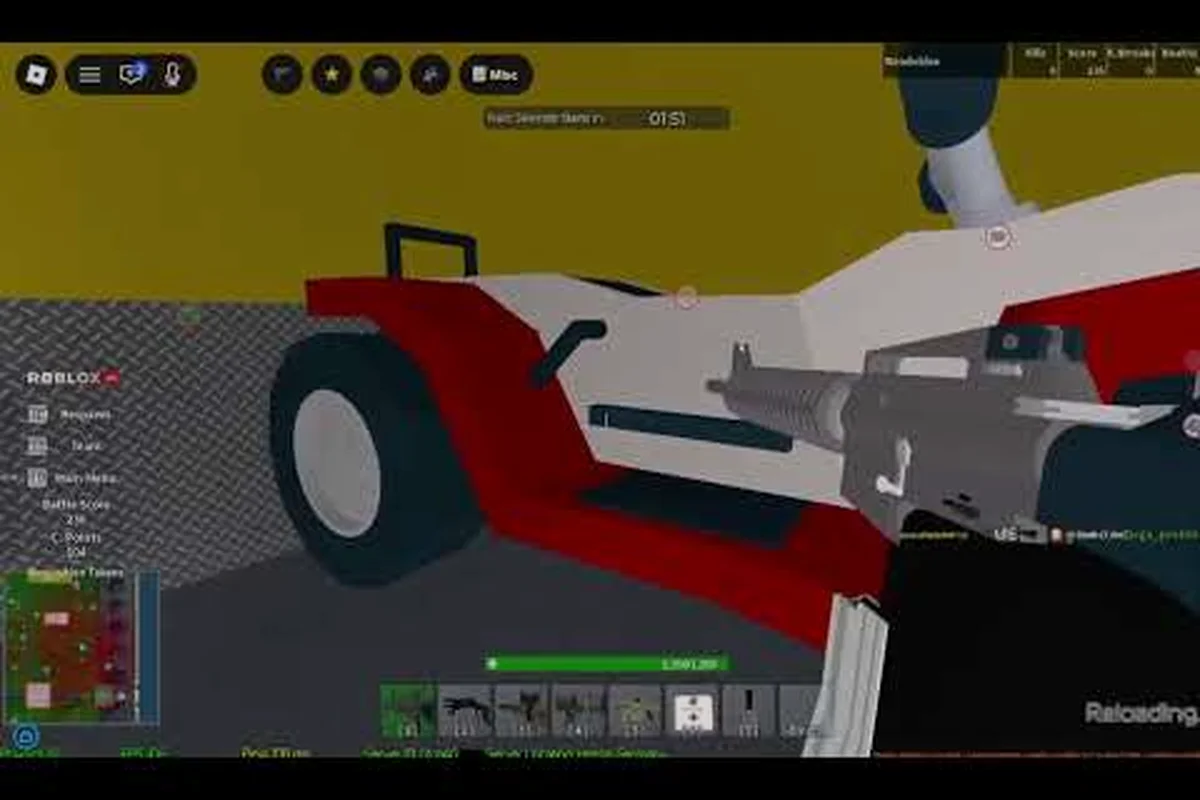
Base Wars is a class-based Roblox shooter built around fast infantry fights, vehicle pushes, and objective captures, and the Trials mode is the single best way to learn how every system fits together. If you have ever queued into a Capture the Flag or Facility match and felt lost in the spawn screen, working through the Trials will tighten up your movement, gunplay, and objective timing faster than any freeplay match. This Base Wars how to play the Trials walkthrough breaks the mode into clear stages, shows you which loadout swaps actually matter, and flags the badge objectives that reward a flawless clear. Whether you are returning after a long break or starting fresh, the steps below will turn a confusing first attempt into a repeatable, badge-ready run.
Trials Mode Overview: What the Mode Actually Tests
Trials is a structured, single-player (or small-co-op) gauntlet that throws a sequence of objective-based challenges at you, with the goal of completing every stage without dying. Each stage is a condensed slice of a real Base Wars game mode, from Capture the Flag chokepoints to Facility capture rooms, so the Trials double as a compressed tutorial for the live game. A run ends the moment your health hits zero, which is why community guides treat flawless clears as the real benchmark for skill.
Core Rules and the Flawless Condition
Every Trial stage has two failure conditions: letting the objective fail, or dying. You start with a fixed kit, and respawning is not allowed. Some stages grant a one-time mid-stage revive when a teammate or NPC drops a medkit, but the standard rule across community reports is that any death forces a restart of the current stage. Because of that, a flawless clear is not just a bragging-right label; it is often the only way to unlock the stage's associated badge, and stacking every badge is how the in-game badge wall fills up.
| Failure Type | Penalty | Restart Scope |
|---|---|---|
| Objective lost (flag dropped, point captured) | Stage fail | Full stage retry |
| Player death (any cause) | Run fail | Full stage retry |
| Time limit exceeded | Stage fail | Full stage retry |
| Friendly fire incident | No penalty, but flagged | Stage continues |
The cleanest way to think about the Trials is as a per-stage score run. Each stage has a hidden timer, a primary objective, and sometimes a secondary bonus objective that grants extra badge progress. Players who treat every stage as a self-contained puzzle, rather than one continuous match, clear the Trials far more consistently than players who try to speedrun the entire run in a single take.
How the Trials Connect to the Main Game
The Trials were designed as a tutorial layer for the live game, so the gunplay, capture rules, and loadout logic in Trials match what you will see in public servers. Completing Trials does not unlock new weapons on its own, but it does unlock badge progression that feeds into account-level bragging rights and, in some events, bonus cosmetics. According to community testing on the Trials event badge, faster stage clears correlate with higher overall matches per hour in the main game, because the muscle memory carries over directly. If you want a deeper look at how the live game modes compare, the Base Wars game modes strategy guide breaks down which modes reward the same skills you build in the Trials.
Stage-by-Stage Walkthrough of the Trials
The Trials typically run through four to six stages, and while the exact order can rotate with seasonal events, the structure stays consistent: warm-up, mid-range combat, objective capture, and a final boss-style stage. Treat the order below as a flexible Base Wars tutorial outline, not a rigid script, because event rotations occasionally swap the last two stages.
According to the official community walkthrough for base wars how to play the trials, each round of the trials is gated by a wave of progressively tougher enemy squads, and the only way to advance is to clear every wave within the time limit while holding your command post.
Players seeking a hands-on walkthrough of the Trials format can find a detailed breakdown of the rules, win conditions, and strategic tips in the Base Wars Trials guide video.
Stage 1: Movement and Basic Aim Warm-Up
Stage 1 is intentionally forgiving and focuses on movement, sprint timing, and basic aim tracking. Targets are mostly static or slow-moving dummies at close to mid range, and the goal is to clear them within the time limit. The biggest mistake here is sprinting in a straight line and stopping to shoot, which throws off your aim reset. Instead, strafe between bursts, tap crouch between shots, and keep your crosshair at head height before the dummy is even in view.
| Sub-Objective | Recommended Tool | Common Mistake |
|---|---|---|
| Hit moving targets | Default rifle with low recoil | Standing still to line up shots |
| Reach the safe zone before timer | Sprint + slide | Sprinting in straight lines |
| Avoid environmental damage | Pre-learn hazard spots | Ignoring tripwire markers |
A clean Stage 1 clear usually takes 60 to 90 seconds if you do not waste time chasing extra targets, and that is exactly the pace you want. The faster you finish Stage 1, the more buffer you have for the harder stages where deaths are more punishing.
Stage 2: Capture the Flag Under Pressure
Stage 2 introduces a small Capture the Flag arena with two AI defenders, and the goal is to grab the enemy flag and return it to your base without dying. This is where most first-time Trials players die, because the AI tends to camp the flag stand and shoots anyone who approaches head-on. The reliable route is to circle wide, use the side cover, and wait for the AI to over-commit before sprinting in. Once you have the flag, do not look back; take the cover-to-cover path you scouted on the way in, and toss a smoke or flash if your loadout has one.
Players who skip cover and try to out-sprint the AI almost always get picked off, while players who take the long route clear this stage on their first or second try. If you find yourself dying more than three times here, slow down and focus on the AI's reload animation as your sprint cue. The Capture the Flag mechanics here mirror the live mode exactly, which is why mastering Stage 2 also makes you a much stronger flag carrier in public matches. The Base Wars Capture the Flag walkthrough covers the full live-mode version in more detail if you want to keep practicing after the Trials.
Stage 3: Facility Capture With Multi-Room Combat
Stage 3 simulates a Facility-style capture, where you have to push through two or three connected rooms and hold each capture point for a few seconds. The AI here uses cover more intelligently, and grenades become genuinely useful for flushing campers out of doorways. The standard approach is to clear the first room with primary fire, throw a grenade into the second room as you push, and use the third room's choke point to land finishing shots on retreating enemies.
| Room | Recommended Tactic | Risk Level |
|---|---|---|
| Entry room | Primary fire, tight angles | Low |
| Mid room | Grenade flush, then push | Medium |
| Back room | Long-angle hold, no peek spam | High |
One trap to avoid is reloading immediately after a kill; the AI punishes reload spam hard in this stage. Reload behind cover, never while moving into a new room, and treat every corner as if an enemy is pre-aimed at head height. A clean Stage 3 clear usually takes 90 to 120 seconds, and that is your first real taste of how fast-paced the Trials can get once the AI starts coordinating.
Stage 4: Vehicle and Anti-Vehicle Stage
Stage 4 introduces light vehicles and anti-vehicle gadgets, and the goal is usually to destroy or disable a target vehicle while avoiding mounted AI guns. This is the most stage-dependent stage in the Trials, because the exact vehicle and map rotate with events. The reliable approach is to grab the anti-vehicle gadget from the marked crate at spawn, take cover near the marked high-ground spot, and use the vehicle's predictable path to land two or three clean hits. Do not chase the vehicle on foot; the AI gunners will shred you if you expose yourself in the open.
Players who try to hijack the vehicle almost always fail this stage, because the AI immediately re-positions and locks you in the open. Instead, treat the vehicle as a moving target and use the marked cover spots. If you clear Stage 4 with full health, you are well-positioned for a flawless run, because the final stage usually rewards cautious, well-timed play more than aggressive rushing.
Stage 5: Final Combined Objective (Boss Stage)
The final stage is a combined objective that mixes flag captures, facility holds, and a short survival timer, all in one larger arena. This is the stage most players call the boss stage, and it is where the flawless run either comes together or falls apart. The reliable approach is to split the stage into mini-phases: capture the flag first, hold the point second, and survive the timer third. Trying to do all three simultaneously is the fastest way to lose the run.
| Phase | Time Budget | Key Action |
|---|---|---|
| Flag capture | 60 seconds | Wide flank, smoke on return |
| Point hold | 60 seconds | Grenade flush, then anchor |
| Survival timer | 45 seconds | Hold high ground, no peeks |
A good boss stage clear takes 150 to 180 seconds, and that is also the typical time-to-clear window for a flawless run from start to finish. If you are consistently running over 200 seconds on the boss stage, slow down; over-rushing is the most common cause of failed flawless clears in the final phase.
Loadout Swaps and Badge Objective Priorities
Trials loadouts are mostly fixed per stage, but you usually get one or two slots where you can swap in a tool that dramatically changes the run. The most useful swaps are grenades, smoke, and a sidearm with faster draw speed, because those directly affect how safely you can move between cover points. Players who run a full-rifle loadout with no utility tend to die on Stages 2 and 3, where grenades and smoke buy you the extra second you need to disengage.
Which Badge Objectives Matter Most
Every stage in the Trials has at least one badge objective, and stacking them is how you fill the badge wall fast. The highest-value badges are usually the flawless-stage badges, because they require a full no-death clear of a single stage, and the end-of-Trials badge, which requires clearing the entire gauntlet without a single death. The lower-value badges are usually tied to specific actions, like "finish Stage 3 in under 90 seconds" or "destroy the vehicle with the anti-vehicle gadget", and these are best farmed on repeat runs after you have already cleared the main gauntlet.
| Badge Type | Difficulty | Recommended Strategy |
|---|---|---|
| Flawless stage | Medium | Slow, cover-first play |
| Speed clear | Medium | Skip optional targets, know map |
| No-damage bonus | Hard | Avoid every hazard, no fall damage |
| Gadget-specific | Easy | Use the marked gadget on the marked target |
| Full-run flawless | Very Hard | Chain flawless stage clears back to back |
If you are chasing the full-run flawless badge, the fastest path is to focus on Stage 1 and Stage 2 first, because they have the highest death rate for new players. Once you can clear Stages 1 and 2 in two tries or fewer, the rest of the run becomes much more manageable, and you can start pushing for the harder no-damage bonuses.
Loadout Swaps That Speed Up Flawless Clears
The single most underrated loadout swap for the Trials is a fast-draw sidearm in the secondary slot, because it lets you finish off weak AI targets faster than swapping back to your primary. The second most useful swap is a smoke grenade, because smoke on flag return in Stage 2 and on point hold in Stage 3 buys you a full second of disengage time. The third most useful swap is a frag grenade, because Stage 3's mid-room AI camps break instantly when you pre-fire a grenade through the doorway.
Players who ignore loadout swaps and just run the default rifle tend to take 20 to 30 percent longer on average, and they die more often on Stages 2 through 4. Treat the loadout swap screen as part of the run, not as a pre-game formality, and the time savings stack up fast across a full Trials gauntlet.
Fast Progress Tips for Repeat Trials Runs
The fastest way to fill out the Trials badge wall is to chain repeat runs with a tight reset loop. Each run takes about 10 to 15 minutes if you are practicing, and a clean flawless run is closer to 7 to 9 minutes, so you can realistically grind 4 to 6 runs per hour. The trick is to keep your reset discipline tight: as soon as you die, restart the stage immediately, and do not let frustration push you into a "one more try" death loop.
Reset Discipline and Mental Stack
The biggest hidden time sink in Trials grinding is mental stack-up after a failed run, where you start the next run while still frustrated and immediately make the same mistake. The clean fix is a hard 10-second reset between runs: breathe, mentally replay the stage you failed on, and start the next run with a clear head. According to community data from badge-grind threads, players who take a short reset between runs clear roughly 30 percent more stages per hour than players who chain back-to-back retries.
| Habit | Time Cost | Net Benefit |
|---|---|---|
| 10-second reset between runs | 10 seconds | +1 stage cleared per hour |
| Skip optional bonus targets | 20 seconds saved per stage | +2 stages per hour |
| Pre-learn hazard spots | Saves 1 death per 5 runs | +1 flawless clear per hour |
If you find yourself dying on the same stage three times in a row, the answer is almost always to slow down, not speed up. Speed comes from clean execution, not from rushing, and the Trials reward patient, well-timed play far more than aggressive sprinting.
When to Move On vs. When to Re-Try
A useful rule of thumb from community badge-grinding guides is the three-retry rule: if you die three times on the same stage, move on to a different stage or take a 5-minute break. Forcing the third or fourth retry in a row almost always ends in a worse clear rate, because frustration compounds. Instead, switch to a stage you are confident in, bank a clean clear for the badge progress, and come back to the hard stage with fresh eyes. This pacing also keeps your overall badge progress moving forward, even when one stage is giving you trouble.
Players who follow the three-retry rule tend to fill the badge wall noticeably faster than players who grind a single hard stage to the point of burnout. The Trials are designed to be replayed, not mastered in a single sitting, so pacing yourself across multiple sessions is part of the optimal strategy. If you want a broader look at how Trials progress fits into your overall account grind, the Base Wars beginner guide covers the early-level loadout unlocks that make Trials farming much smoother.
How Trials Farming Ties Into Account Progression
Trials clears feed into the same badge progression system that live-mode captures and kills feed into, so each flawless run quietly boosts your account-level stats. Players who grind Trials alongside live-mode matches tend to see a more balanced badge wall, with fewer gaps in the secondary objectives. According to community reports, the most efficient overall grind is to do two Trials runs in the morning, then play live matches in the afternoon, because the muscle memory from Trials carries directly into the live game. The Trials also force you to learn every map's high-ground spots and flank routes, which is the single biggest skill transfer you can get for free in this game.
Frequently Asked Questions
What is the easiest way to start the Trials in Base Wars?
Open the mode selector from the main menu and look for the Trials tile, usually marked with a badge icon. The first stage is a forgiving warm-up, so you can practice movement and aim without much risk of failing the run. If the tile is grayed out, complete the basic tutorial pop-up that appears on your first login, and the Trials will unlock immediately.
How long does a single Trials run usually take?
A clean run takes 7 to 9 minutes, while a practice run with one or two retries takes 10 to 15 minutes. The boss stage is the biggest time variable, because it combines a flag capture, a point hold, and a survival timer in one arena. Players chasing the full-run flawless badge should budget around 10 minutes per attempt, including reset time between runs.
Do I need a specific loadout to clear the Trials?
No specific loadout is required, but a fast-draw sidearm and at least one utility grenade make Stages 2 and 3 much safer. Smoke is the single best utility swap for flag-return sections, and a frag grenade breaks mid-room AI camps on Facility stages. Players who run the default rifle with no utility clear slower and die more often on Stages 2 through 4.
Can I replay a single stage to farm its badge?
Yes, and that is the fastest way to fill out per-stage badges. Each stage restarts independently, so you can repeat a stage as many times as you like without losing progress on other badges. The most efficient farming order is to clear the easy stages first, then circle back to the hard ones once you are warmed up.
What is the fastest way to get a full-run flawless badge?
The fastest path is to master Stage 1 and Stage 2 first, because they have the highest death rate for new players, and then chain clean runs back to back. A 10-second reset between runs and the three-retry rule on hard stages both noticeably improve your clear rate. Players who follow that routine typically unlock the full-run flawless badge within a focused 2 to 3 hour session.